

What’s more nutritious and easier to digest than garbanzo beans? Sprouted garbanzo beans!
That’s right. Sprouting is an ancient practice that makes legumes and whole grains more nutritious by removing anti-nutrients, the stuff that prevents our body from absorbing key vitamins and minerals. It also activates enzymes that help our bodies better digest protein and carbohydrates, so we don’t end up bloated and gassy after our meal (sign me up!).
In short, sprouting is a simple process that can ease a lot of common digestive issues when it comes to consuming legumes and whole grains. It’s really a win-win, especially if you have a sensitive stomach.
This is a deceptively simple process that makes your garbanzo beans more nutritious. Our main tools are water and time. It really is that simple.

Here’s how to do it:
How to Sprout Garbanzo Beans for Optimal Nutrition
Makes 12 (1/2 cup) servings
Ingredients:
- 2 cups dried garbanzo beans
- 4-5 cups filtered water (plus more for cooking)
- pinch of baking soda
Equipment:
- Medium mixing bowl, preferably glass
- Mesh strainer
- Kitchen towel or paper towel
Get this recipe sent to your inbox!
Day 1:
- Rinse and sort through your dried beans, removing any debris from processing. Place the beans in a large glass bowl.
- Heat about twice the amount of water as you have beans. The water is ready when it’s fairly warm, but you are still able to comfortably touch it without getting burned. Remember, you’re not cooking the beans, you just want to gently encourage them to sprout.
- Pour the water over your beans so that about 2” covers the top. They will soak it up and expand, so give them enough room. Add a pinch of baking soda to the water to encourage sprouting even more (optional).
- Place a paper towel or clean dish towel over the bowl and allow the beans to soak for at least 8 hours, or overnight.
Day 2-3:
- Once they’re done soaking, drain off the water and rinse them in a mesh strainer. Rinse and wipe out your mixing bowl, and place the strainer over it. Cover with a paper towel or kitchen towel and place somewhere safe on your kitchen counter.
- Continue to rinse the beans every 3-4 hours to encourage sprouting. You don’t want them to dry out, similar to if you were sprouting seeds in soil. Depending on the temperature in your kitchen, you should start seeing little “tails” emerge in about a day or so (the warmer the temperature, the quicker they will sprout). This means they’re sprouted and ready to cook!
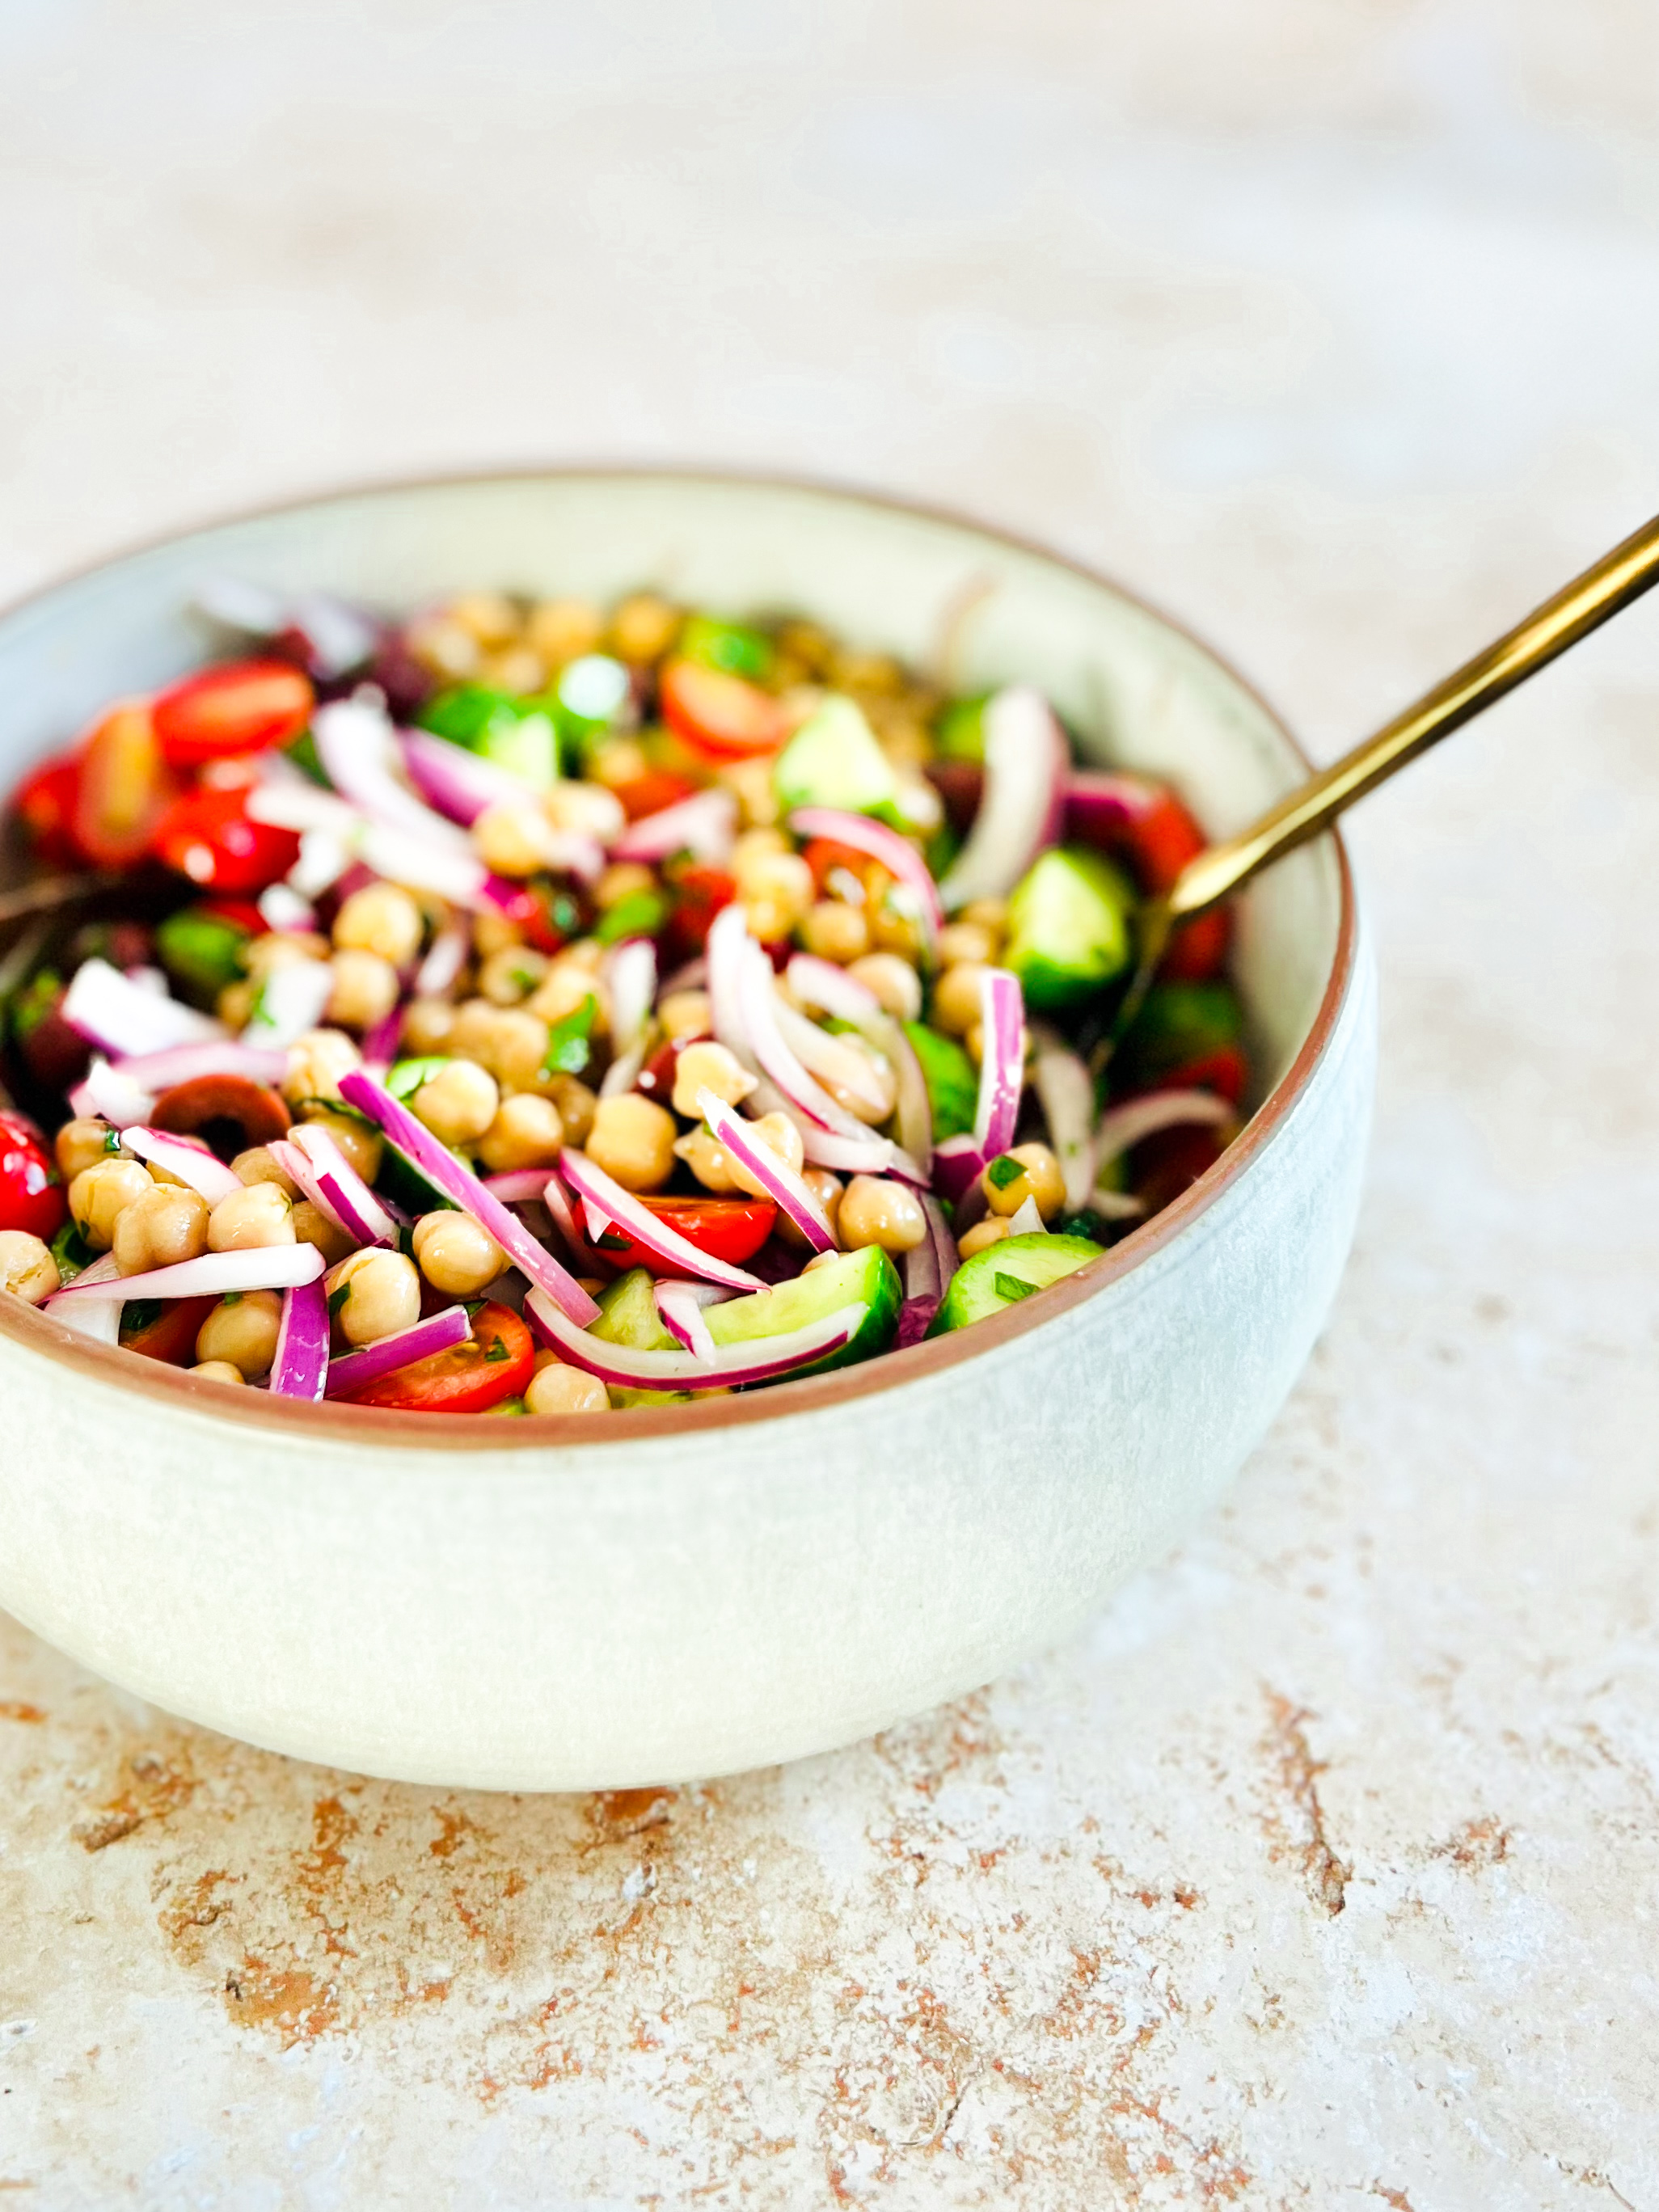
- Rinse them in cold water and cook until done to your liking (about 30 minutes in a pot of salted boiling water for me). You can use these any way you like- in salads, soups, hummus, roasted until crispy, etc. Enjoy!

How to Sprout Garbanzo Beans for Optimal Nutrition
Equipment
- Saucepan or pot (to boil water)
- Mesh strainer
- Glass mixing bowl
- Kitchen towel or paper towel
Ingredients
- 2 cups dried garbanzo beans
- 5 cups filtered water (plus more for cooking)
- pinch of baking soda
Instructions
- Day 1: Rinse and sort through your dried beans, removing any debris from processing. Place the beans in a large glass bowl.
- Heat about twice the amount of water as you have beans. The water is ready when it's fairly warm, but you are still able to comfortably touch it without getting burned. Remember, you’re not cooking the beans, you just want to gently encourage them to sprout.
- Pour the water over your beans so that about 2” covers the top. They will soak it up and expand, so give them enough room. Add a pinch of baking soda to the water to encourage sprouting even more (optional).
- Place a paper towel or clean dish towel over the bowl and allow the beans to soak for at least 8 hours, or overnight.
- Day 2: Once they’re done soaking, drain off the water and rinse them in a mesh strainer. Rinse and wipe out your mixing bowl, and place the strainer over it. Cover with a paper towel or kitchen towel and place somewhere safe on your kitchen counter.
- Continue to rinse the beans every 3-4 hours to encourage sprouting. You don’t want them to dry out, similar to if you were sprouting seeds in soil. Depending on the temperature in your kitchen, you should start seeing little “tails” emerge in about a day or so (the warmer the temperature, the quicker they will sprout). This means they’re sprouted and ready to cook!
- Rinse them and cook until done to your liking (about 30 minutes in a pot of salted boiling water for me). You can use these any way you'd like- in salads, soups, hummus, roasted, etc. Enjoy!






Leave a Reply